DIY DTF transfers have surged in popularity, offering a flexible and affordable way to print custom designs on fabrics right from your home. For hobbyists, crafters, or small-business owners testing the waters, a beginner DTF printing setup can be your fastest route from idea to finished product. This guide explains what DTF transfers are, why you might start at home, and how to assemble a practical, beginner-friendly workflow that delivers reliable results without overcomplicating the process, including budgeting tips, space considerations, safety basics, and a simple project calendar that helps you move from idea to finished print with confidence. From coating powders and heat pressing to color management, maintenance, and safe storage, you’ll learn hands-on steps that keep your setup simple, scalable, and beginner-friendly as your skills grow. By starting small, documenting outcomes, and refining your process, you can gradually move from trial prints to reliable, personalized garments for friends, family, or even small storefront orders.
If you prefer broader terminology, imagine do-it-yourself fabric transfer printing that uses film, heat, and adhesive powder to imprint designs onto textiles. This at-home approach leverages a modest printer, compatible inks, transfer films, and a compact heat source to turn ideas into wearable art without needing a full studio. LSI-friendly terms for this topic include home-based garment printing, direct-to-film at-home projects, and hobbyist-friendly transfer methods, all of which point to practical, scalable solutions for beginners. As you gain experience, you can explore upgrades and optimizations while keeping the core technique approachable for hobbyists and small sellers.
DIY DTF transfers at Home: A Beginner’s Guide to a Simple Setup
DIY DTF transfers have opened new doors for hobbyists and small entrepreneurs who want custom apparel without large production runs. If you’re exploring a beginner DTF printing setup, starting with a simple, home-based workflow helps you learn the basics without overwhelming cost. A typical DIY DTF transfers setup at home combines a standard inkjet printer, DTF transfer film, adhesive powder, heat source, and basic software, allowing you to test designs quickly.
This approach keeps the process flexible and approachable, making DTF transfers at home a practical entry point for experimentation. Focus on fundamentals like color calibration, test runs on scrap fabrics, and documenting outcomes to refine your method. Embracing this path supports home printer transfers and offers a viable entry into DTF printing for beginners.
Choosing the Right Printer and Inks for DTF at Home
Selecting the right printer and inks is foundational for reliable DIY results. Look for an inkjet printer with solid color output, ideally with a configuration that minimizes cross-contamination from other projects. If possible, dedicate a specific printer to DTF tasks to simplify maintenance and color consistency for home printer transfers.
Ink choice matters: evaluate consumer-friendly DTF inks or water-based pigment inks designed for transfer applications. Pair inks with compatible transfer films and powders, and plan to test color profiles to achieve stable, repeatable results. Understanding how your inks behave on the film is a key part of the DTF transfer process.
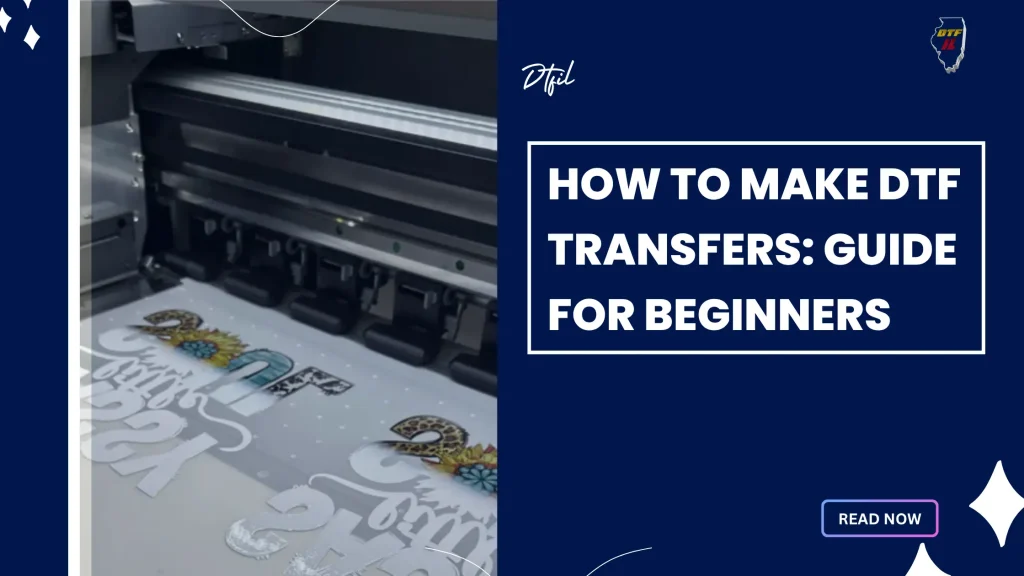
Mastering the DTF Transfer Process: From Print to Post-Transfer Care
The DTF transfer process starts with printing on a specialized transfer film, followed by powdering, curing, and finally applying heat to transfer the design onto fabric. Each step affects color fidelity, edge sharpness, and adhesion, so starting with a simple, repeatable routine helps build consistency for home projects.
Post-transfer care is essential for durability. Allow cooling before handling, and follow the ink and film maker’s guidance for washing and care. Regular maintenance of your printer and careful handling of powders reduce clogs and smudges, supporting reliable results for DIY DTF transfers at home.
Designing for DTF: Color, Resolution, and Compatibility for Beginners
Design quality drives results in DTF printing for beginners. Prepare artwork at high resolution (typically 300 dpi or more) and use clean vector lines for crisp edges, while acknowledging the color limitations of the chosen inks and film. Thoughtful color choices and gradients help ensure vibrant, faithful results when printed on transfer film.
Make sure your designs account for mirroring, layering for color separations, and the final garment color. Keeping your files organized and labeled speeds up production and reduces errors as you move from simple projects to more complex ones in a beginner DTF printing setup.
Building a Reliable, Efficient Workflow for Home Printer Transfers
A repeatable workflow minimizes guesswork and ensures consistent outcomes across sessions. From project selection to the final transfer, document each step to create a scalable process for DIY DTF transfers at home. Emphasize printing, coating with adhesive powder, curing, and the transfer step to establish a dependable routine.
Standardize settings for each ink, film, and powder combination, and develop checklists to speed up setup. This disciplined approach helps you move beyond one-off projects toward small runs while maintaining quality, safety, and efficiency in your home printer transfers workflow.
Upgrading and Scaling Your DIY DTF Studio
As confidence grows, consider strategic upgrades to expand capability and throughput. A larger-capacity heat press, a dedicated DTF-printer setup, and improved color management tools can unlock more complex designs and higher-volume work for DIY DTF transfers at home.
Evaluate upgrades based on workflow impact, cost, and potential demand. Track production time, error rates, and garment variety to decide when an investment makes sense. With thoughtful growth, you can enhance color accuracy, reduce turnaround, and broaden the range of fabrics you can print on.
Frequently Asked Questions
What are DIY DTF transfers and how can a beginner DTF printing setup help me start at home?
DIY DTF transfers are designs printed onto a special transfer film, dusted with adhesive powder, and pressed onto fabric with heat. A beginner DTF printing setup helps you keep the workflow simple and repeatable at home, using a compatible printer, DTF inks, clear transfer film, powder, and a heat source. In practice, you design, print, powder, cure, transfer, and then perform post-transfer care. This approach gives you control, a smaller workspace footprint, and the potential to scale from one-off projects to small runs.
How can I start with DTF transfers at home using a home printer transfers workflow?
Starting with DTF transfers at home involves a simple, repeatable workflow: design your artwork, print it on DTF transfer film, dust with adhesive powder, cure the powder, then transfer the design to fabric with heat. A home printer transfers setup means keeping equipment compact and organized, labeling materials, and following the film and powder manufacturers’ guidelines. Begin with light fabrics and test prints to refine color and adhesion before tackling larger runs.
What is the DTF transfer process for DIY DTF transfers, and what beginner-friendly steps should I follow?
DTF transfer process for DIY transfers typically includes printing on transfer film, applying adhesive powder, curing, and heat pressing the design onto fabric. Beginner-friendly steps: calibrate your printer, prepare artwork at 300 dpi or higher, mirror designs if required, print with the chosen ink system, powder evenly, cure per powder guidelines, transfer at the recommended temperature and time, then cool and peel. Document your settings to build a repeatable routine.
What should I know about DTF printing for beginners when setting up DIY DTF transfers at home?
For beginners, pick a reliable printer and dedicated DTF or compatible inks, use clear transfer film, and an adhesive powder. Keep a simple, repeatable workflow: print, powder, cure, transfer, and finish with proper garment care. Ensure proper color management and artwork at 300 dpi; consider mirroring text if needed and test small batches before larger orders.
What are common issues in DIY DTF transfers and how can I troubleshoot them in DTF printing for beginners at home?
Common issues include faint colors or washed-out images, white halos, smudging, poor adhesion, and sticky surfaces after transfer. Troubleshoot by checking print resolution and ink saturation, adjusting color profiles, ensuring even powder application and proper curing, verifying heat press temperature, dwell time, and pressure, and confirming correct film handling. Keep notes on settings and perform test prints to dial in your process.
What upgrades or safety reminders should I consider as I scale DIY DTF transfers at home with home printer transfers?
As you grow, consider upgrades like a larger heat press, a dedicated DTF printer, improved color management tools, and additional transfer films. Prioritize safety: ensure good ventilation, wear PPE when handling powders, keep your workspace clean and organized, label inks and powders to prevent cross-contamination, and follow all manufacturer guidelines for curing and heat exposure.
| Topic | Key Points | Practical Takeaway |
|---|---|---|
| What are DIY DTF transfers? | Direct-to-film transfers involve printing onto a transfer film, applying adhesive powder, then transferring the design to fabric with heat. They yield vibrant images with smooth detail and can be more accessible for beginners than traditional methods. | Understand the basic three-step process: print → powder → heat transfer. |
| Why try DTF transfers at home? | Home DTF transfers offer hands-on control over design and production, a smaller equipment footprint, and potentially lower costs for small batches. | Start with small projects in a home studio or garage to test workflows. |
| Printer and inks | Use a standard inkjet printer with appropriate DTF inks or water-based pigment inks; some hobbyists dedicate a printer to DTF to avoid contamination. | Choose inks and a printer setup that provide stable color across batches. |
| Transfer film and powder | Clear transfer film that supports high-resolution prints; adhesive powder is applied after printing to create the transfer layer. | Maintain consistent powdering to ensure even transfers and avoid white halos. |
| Heat press or alternative | A reliable heat press with a controlled temperature range (roughly 320–350°F / 160–177°C); an iron can be a temporary alternative but is less consistent. | Prefer a heat press for repeatable results, especially for beginners. |
| Software, color management, and workflow | Design in common tools (Photoshop, GIMP, vectors); target 300 dpi; color-management with correct profiles; keep a simple, repeatable workflow. | Document steps to scale from one-offs to small runs. |
| Space, safety, and maintenance | Ventilated workspace; manage powders and fumes; keep surfaces clean; label and store powders/films/tools to prevent cross-contamination. | Create a dedicated area for powders, films, and tools to maintain cleanliness and safety. |
| First steps: beginner-friendly workflow | Calibrate/test print; prepare design at high resolution; print, inspect, powder, cure; transfer; post-transfer care. | Follow a repeatable six-step routine before real projects. |
| Step-by-step practical guide | Define project, design/preview, set print options, powder, cure, transfer, and finish with cooling and inspection. | Progress from basics to more complex designs as confidence grows. |
| Troubleshooting common issues | Faint colors, halos, smudging, poor adhesion, or tacky films require checking print quality, powder application, curing, and heat settings. | Tackle issues by tweaking ink profiles, powdering, and transfer parameters. |
| Investing as you grow | Optional upgrades include larger heat presses, a dedicated DTF printer setup, improved color management, and additional transfer films for different fabrics. | Plan upgrades to expand capabilities and volumes gradually. |
| Maintenance and safety reminders | Keep workspace clean, use PPE when handling powders, service printers regularly, label inks/powders, and follow manufacturer safety guidelines. | Establish routines to sustain consistent results and safe operation. |
| Conclusion | DIY DTF transfers enable beginners to print custom designs at home with a simple, repeatable workflow and scalable potential. | From setup to finished garments, a thoughtful home workflow can evolve into a reliable, small-batch DTF printing practice. |
Summary
Table explaining key points of the base content and a descriptive conclusion for DIY DTF transfers.